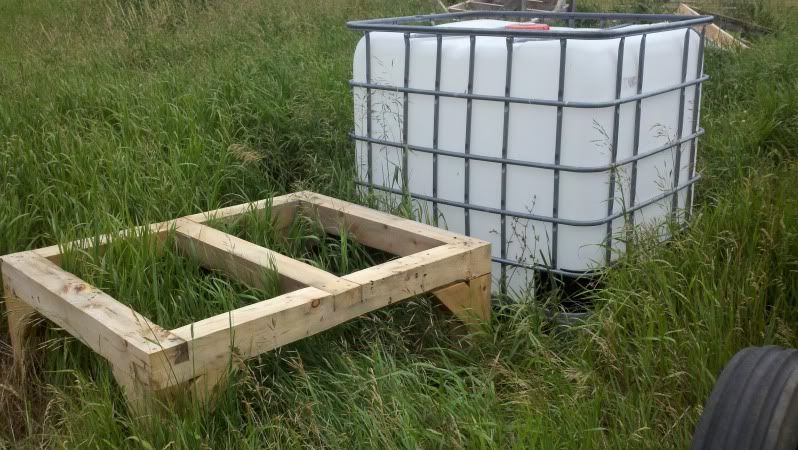
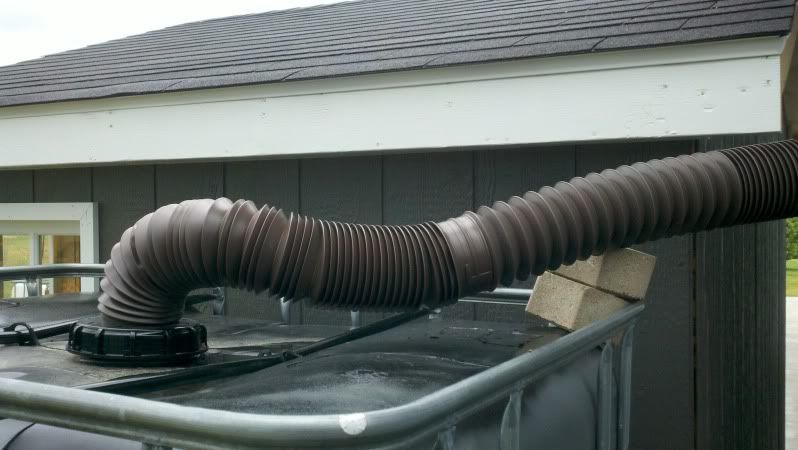
Here's our set up:
We started with one IBC tote that Dale got from where he works. You can also pick these up on Craigslist pretty often. Before using it we rinsed it well and used a green cleaner to get out any residue left over from the product is once held. We also had a great heavy duty wood stand made by my step-father to put it up on.
The two pavers are there to support the plastic downspout. We wanted to leave enough room to walk through behind the coop and between the pole building and that left the downspout with some sag. During a heavy rain we were afraid the added weight might add too much for it so the pavers are helping hold it up for now.
A few fittings from the plumbing department were needed to get the connections all set up and now we are in business! One side of our 40 x 32 pole building's roof runs off into this rain barrel. A half an inch of rain filled it up half way. It can hold 300 gallons total. Dale also drilled several over flow holes in the cap so the extra water just flows up and over the top. We re-used 9 patio blocks to set and level the rain barrel on and also so the over flow water won't make a mess around the base.
So there you have it!! For under $75 we have a great DIY rain barrel made from an IBC tote!!
I've used it several times already to fill up the chicken's water and I was surprised that the water hadn't really warmed up much yet either.


2 comments:
Looks like it all turned out very nice. A good project to share.
We have the same IBC totes and are looking into protecting the plastic from UV damage and the water from algae growth.
How many cans of paint did you need to paint the whole plastic liner? And did you need to take it out of it's cage thingie?
Oh and how did you keep bugs, frogs, geckos and other critters from sneaking in through the overflow holes you drilled in the top, and did you put screening anywhere between the gutter and the barrel to catch leaves?
Post a Comment