If you enjoy gardening then you know all about the benefits of using compost. Black gold it is often called. It adds needed nutrients and helps correct problems with your soil. If you have a heavy clay soil, add compost to loosen it up. Dealing with sandy soil, adding compost will help it hold onto moisture. I've never heard anyone say they used too much compost in their garden.
But where do you get compost? Well you can buy plastic bags of it at garden and home improvement stores. If you are lucky, your community may have a yard waste site that composts all those yard clippings and lets you come pick it up for free. Many people who garden have their own compost piles tucked into areas of their yards. We have been composting here for a couple years. We haven't used anything fancy, just piling all the material up and turning it over occasionally. Grass clippings, bedding from the chicken coop and garden waste were all added along with some kitchen scraps. Every few weeks it would get turned with the tractor. The pile would sit and be added to during the growing season, by the following spring the compost would be ready to use.
I would sure like the process to go a bit faster than that. In order to "cook" the compost faster I started looking into compost tumblers. They hold a smaller amount of material, keep it aerated, help the compost heat up and make it easy to mix often. You can spend a lot of money on
pre-made tumblers. While browsing
Pinterest I saw a tutorial on making a tumbler from a large plastic barrel. It looked pretty straight forward so we started to gather the needed materials. The 55 gallon barrel came from a family member's work for free. We purchased the treated lumber from a home improvement store along with the PVC pipe, flange and hardware. The screws, bolts and closet rod we already had. The total amount of money spent on materials was about $35. Not bad at all!
The tutorial we used is posted
HERE. A few measurements had to be adjusted because the size of our barrel was different and Dale made a few other minor changes he felt improved the design. Over all the tutorial was great so check it out.
Here is our process:
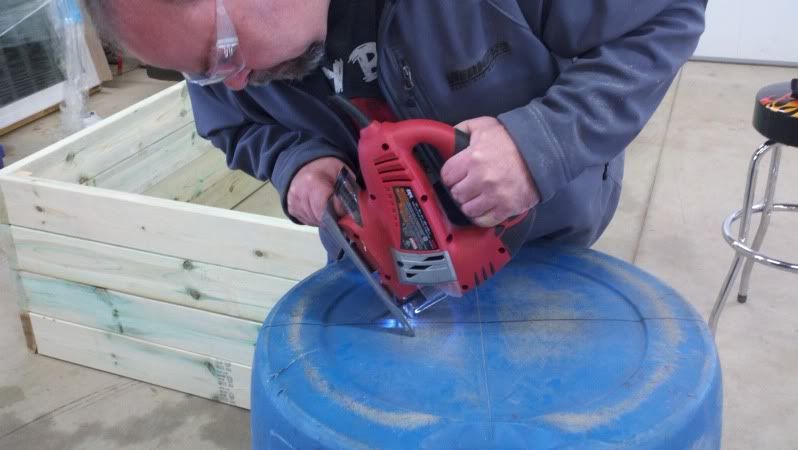
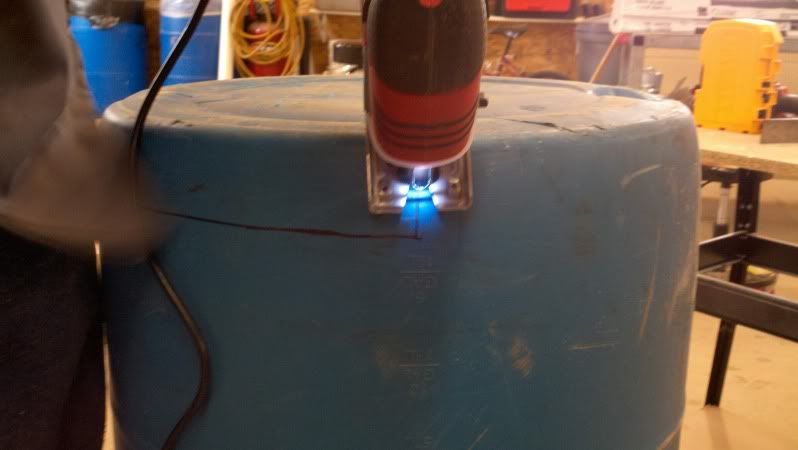
Start with the barrel, cutting out the half circle that will become the lid.
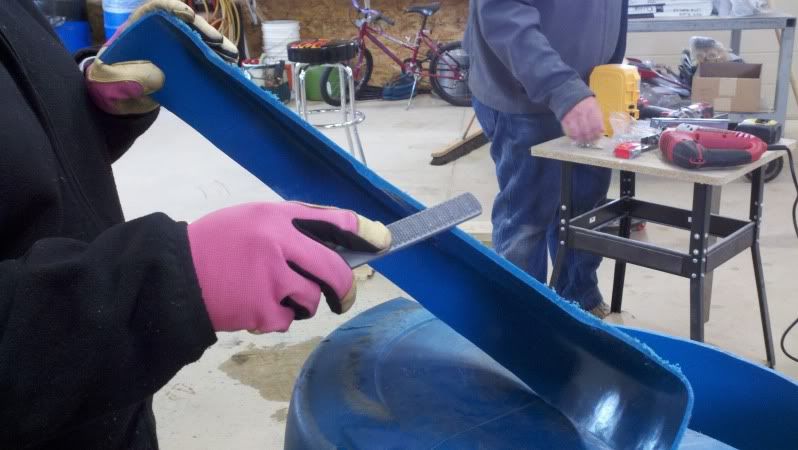
Use a file to smooth any sharp edges left by the jigsaw.
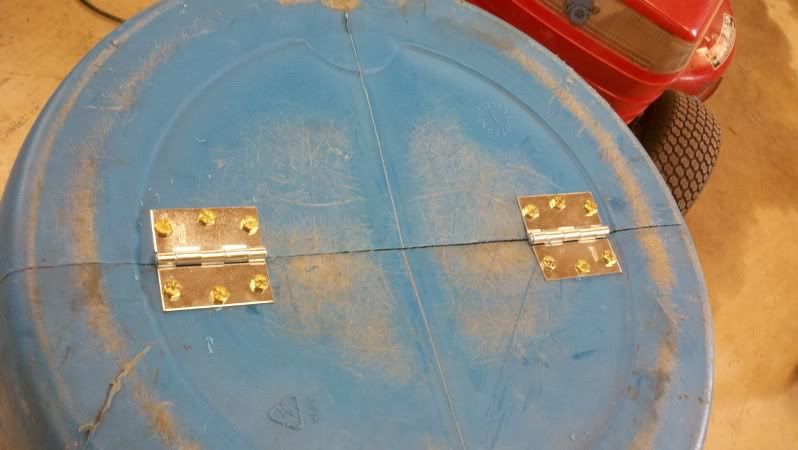
Attach the hinges to the lid.
Now add the window sash latch which will hold the lid shut.
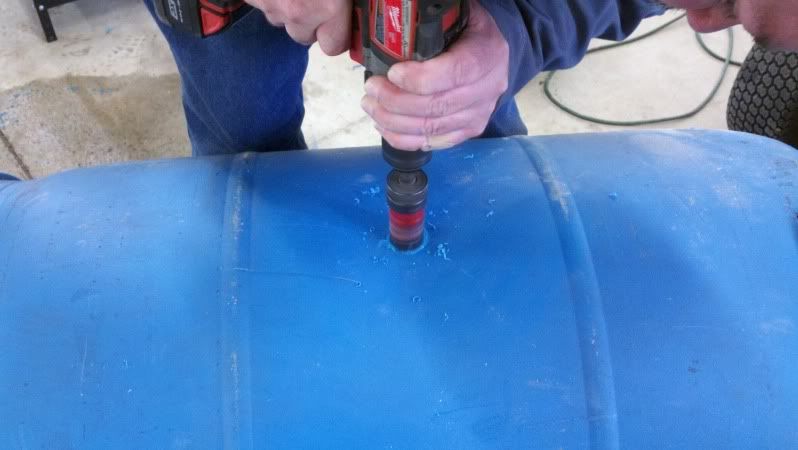
Now it's time to cut some holes for the closet rod.
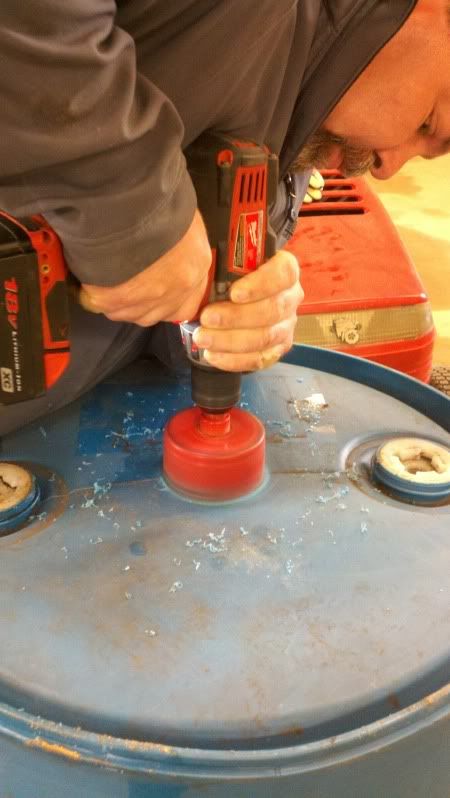
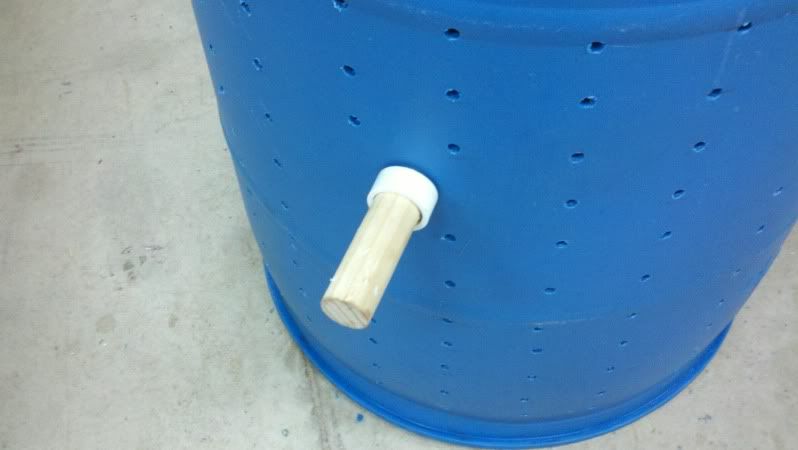
And the larger hole for the toilet flange.
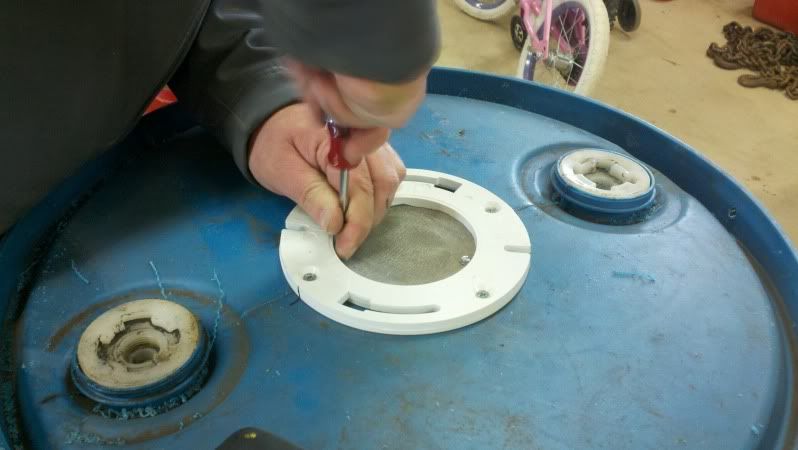
Attaching the toilet closet flange that will become the air vent and
adding a piece of screen to keep out critters.
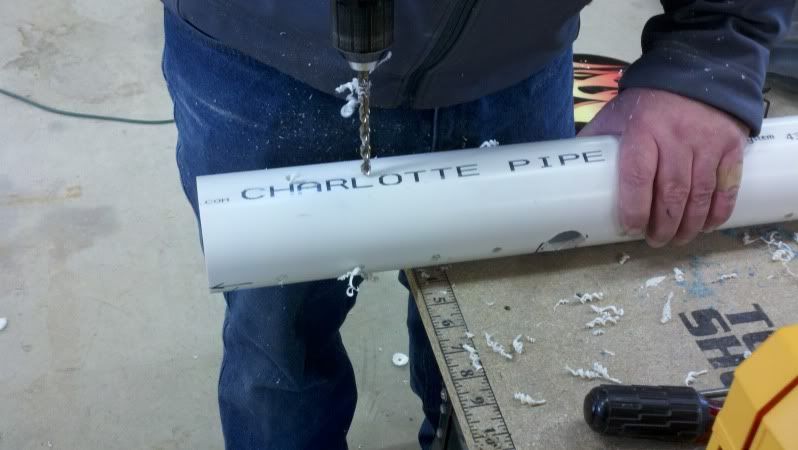
Cutting the holes in the 3" PVC pipe, this will let the air flow inside the
tumbler keeping everything well aerated.
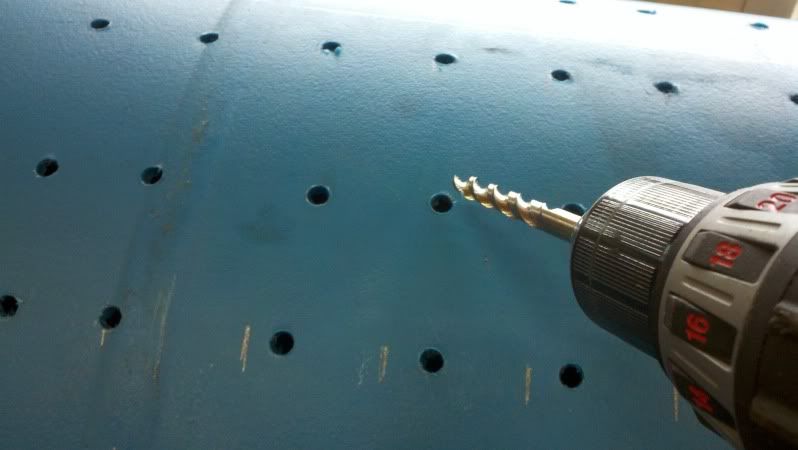
Time to cut lots of air holes around the barrel.
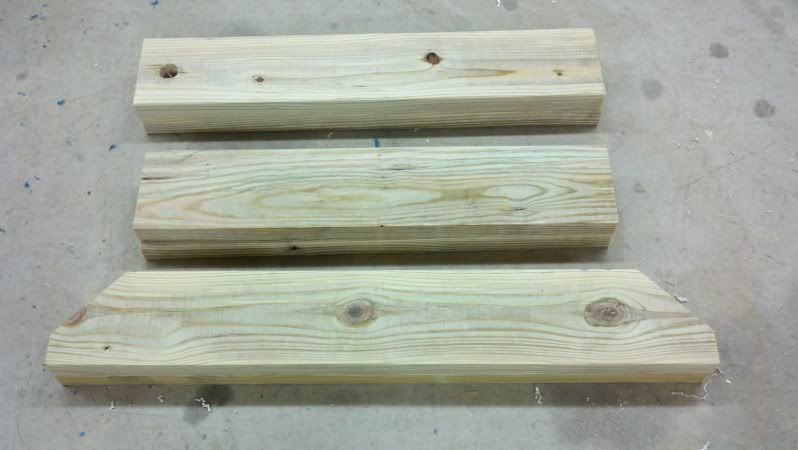
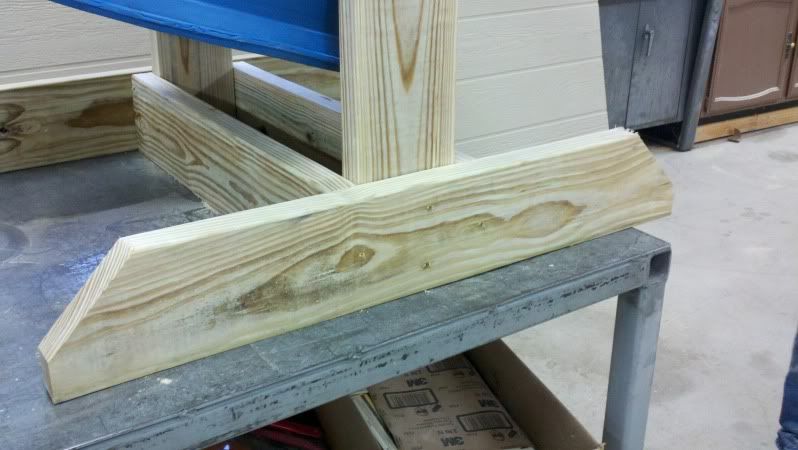
Wood all cut for the base.
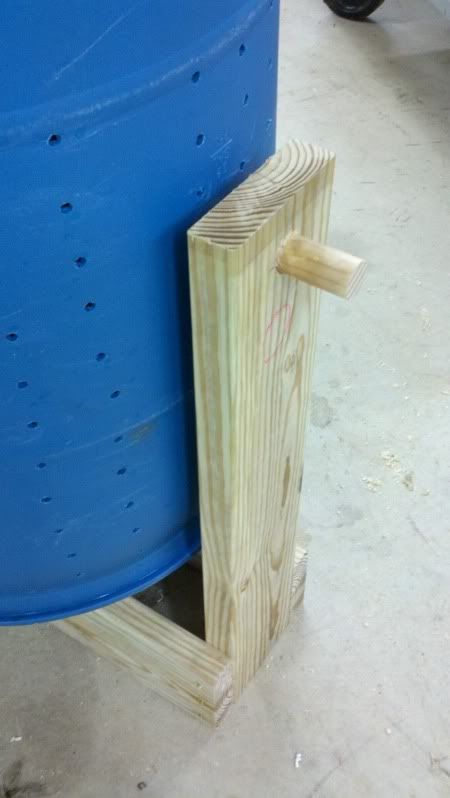
Assembling the tumbler, the closet rod going through the barrel and the PVC pipe inside.
Attaching the uprights and the base.
Adding the legs to the base.
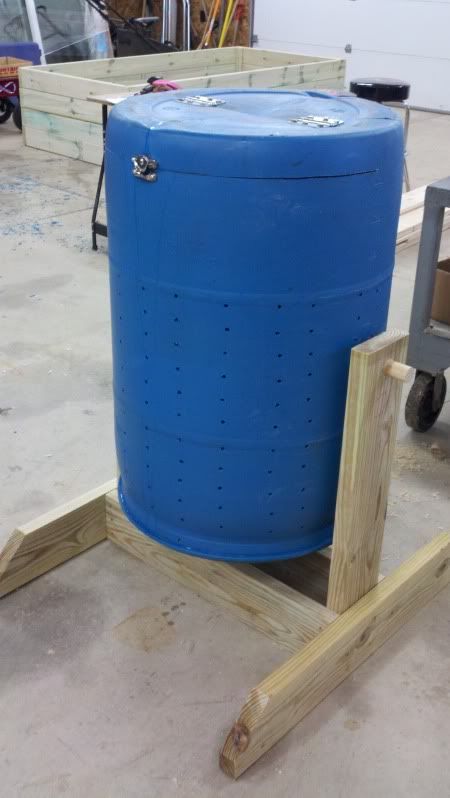
Finished Tumbler!
Now I need to put it to use! I'll let you all know how it works.
Be sure to go to the
Tutorial for all the details on assembling the tumbler.