I got the call from the feed store this afternoon.
The turkey poults we ordered were in!!
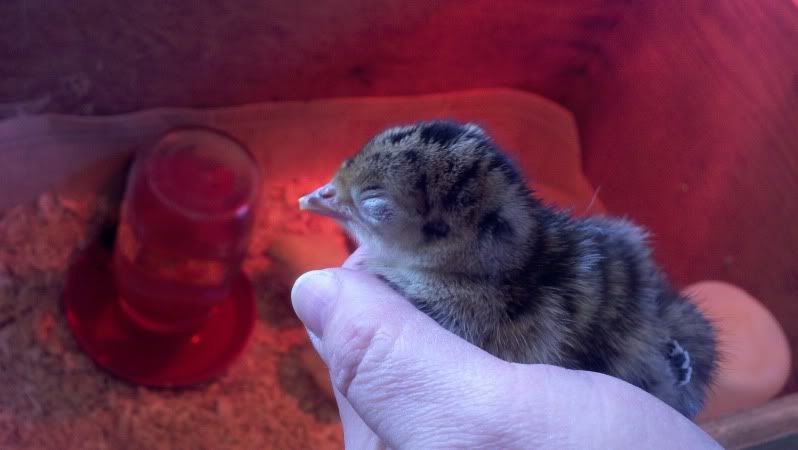
This one was pretty sleepy when I got them home. We ordered three Broad Breasted Bronze turkeys. We can only get the bronze and white hybrids at our local feed store. It's hard to find a place to order just a few turkeys from so we take what we can get. These came from Sunnyside Hatchery in Beaver Dam. The hatchery has several delivery days where they drive up all the chicks that are ordered.
The feed store usually gets 25 broilers and brown layers to sell in addition to the customer orders. I picked up 4 broilers to go into the brooder along with the turkeys. I have read that they help the turkeys learn to eat and drink. I guess they aren't the smartest bunch! LOL That way they have some company too.
I started them all on medicated chick crumbles and will stay on that for 2 weeks before switching out to an organic turkey grower (28% protein) that is milled locally. We haven't really gone the organic route before but after finding the mill in town mixes their own right here we are trying them out. I think it will make for a really tasty Thanksgiving meal!
Now I wonder if we should name them???
5/10/12
5/1/12
DIY Compost Tumbler
If you enjoy gardening then you know all about the benefits of using compost. Black gold it is often called. It adds needed nutrients and helps correct problems with your soil. If you have a heavy clay soil, add compost to loosen it up. Dealing with sandy soil, adding compost will help it hold onto moisture. I've never heard anyone say they used too much compost in their garden.
But where do you get compost? Well you can buy plastic bags of it at garden and home improvement stores. If you are lucky, your community may have a yard waste site that composts all those yard clippings and lets you come pick it up for free. Many people who garden have their own compost piles tucked into areas of their yards. We have been composting here for a couple years. We haven't used anything fancy, just piling all the material up and turning it over occasionally. Grass clippings, bedding from the chicken coop and garden waste were all added along with some kitchen scraps. Every few weeks it would get turned with the tractor. The pile would sit and be added to during the growing season, by the following spring the compost would be ready to use.
I would sure like the process to go a bit faster than that. In order to "cook" the compost faster I started looking into compost tumblers. They hold a smaller amount of material, keep it aerated, help the compost heat up and make it easy to mix often. You can spend a lot of money on pre-made tumblers. While browsing Pinterest I saw a tutorial on making a tumbler from a large plastic barrel. It looked pretty straight forward so we started to gather the needed materials. The 55 gallon barrel came from a family member's work for free. We purchased the treated lumber from a home improvement store along with the PVC pipe, flange and hardware. The screws, bolts and closet rod we already had. The total amount of money spent on materials was about $35. Not bad at all!
The tutorial we used is posted HERE. A few measurements had to be adjusted because the size of our barrel was different and Dale made a few other minor changes he felt improved the design. Over all the tutorial was great so check it out.
Here is our process:
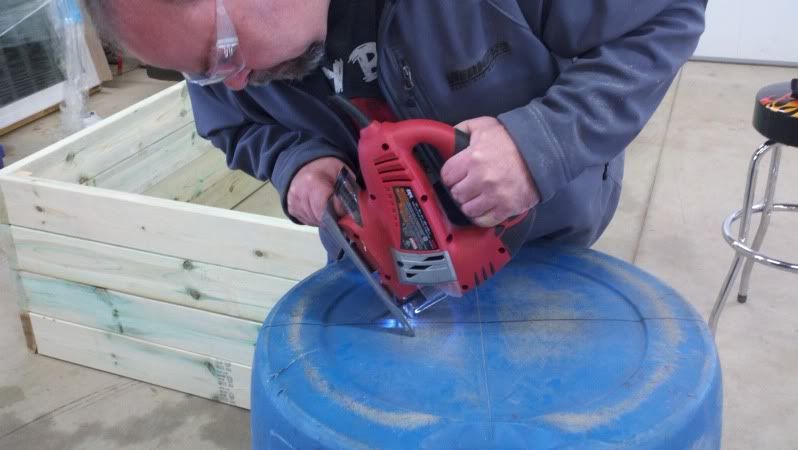
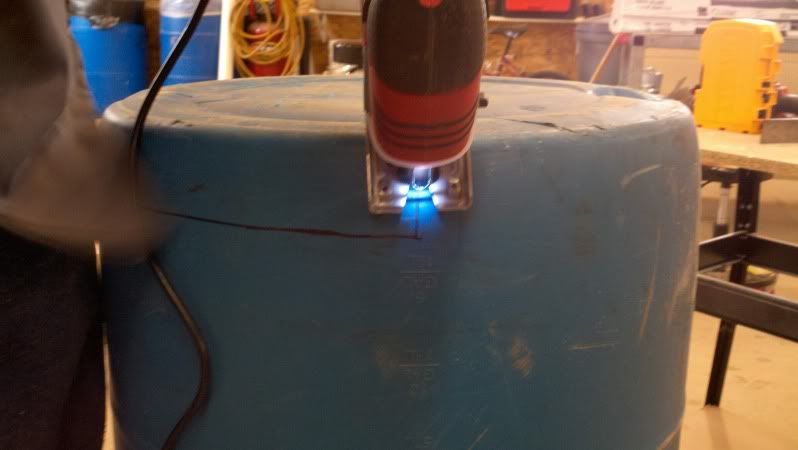
Start with the barrel, cutting out the half circle that will become the lid.
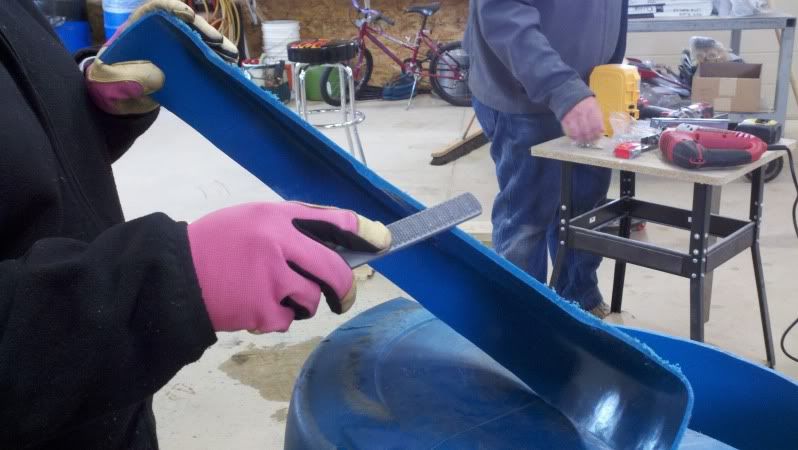
Use a file to smooth any sharp edges left by the jigsaw.
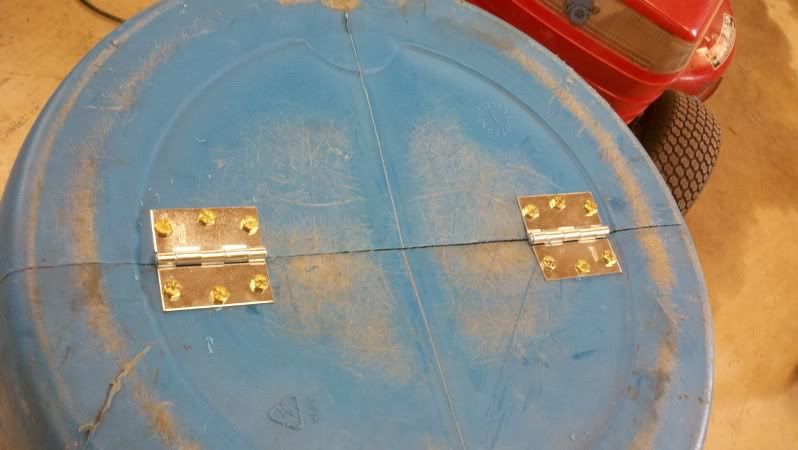
Attach the hinges to the lid.
Now add the window sash latch which will hold the lid shut.
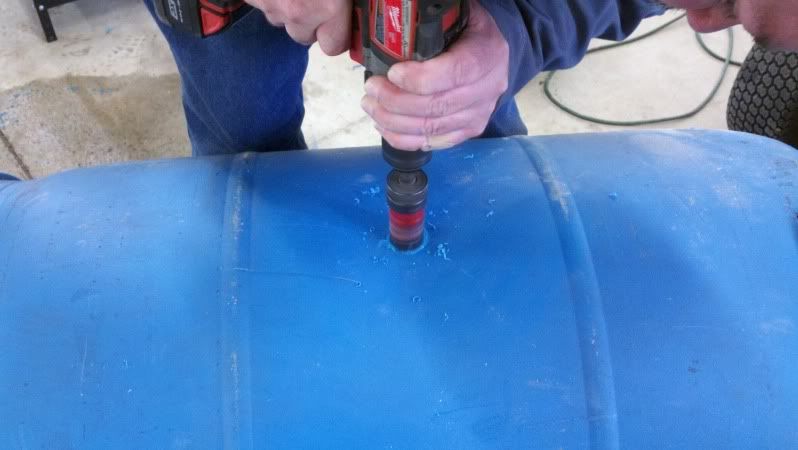
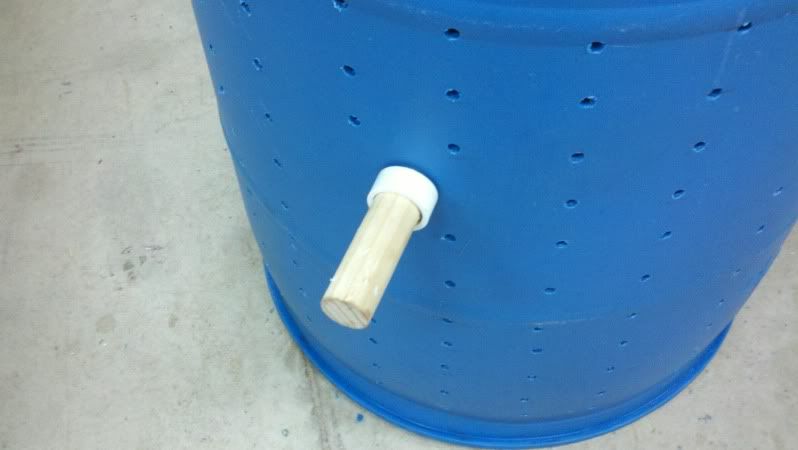
Now it's time to cut some holes for the closet rod.
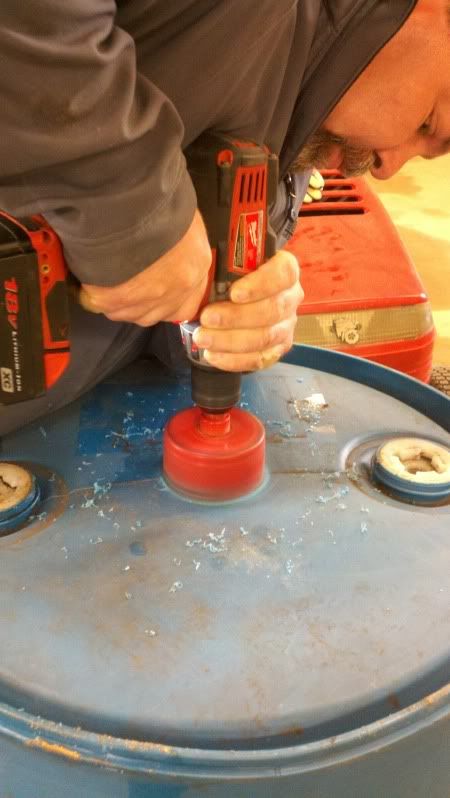
And the larger hole for the toilet flange.
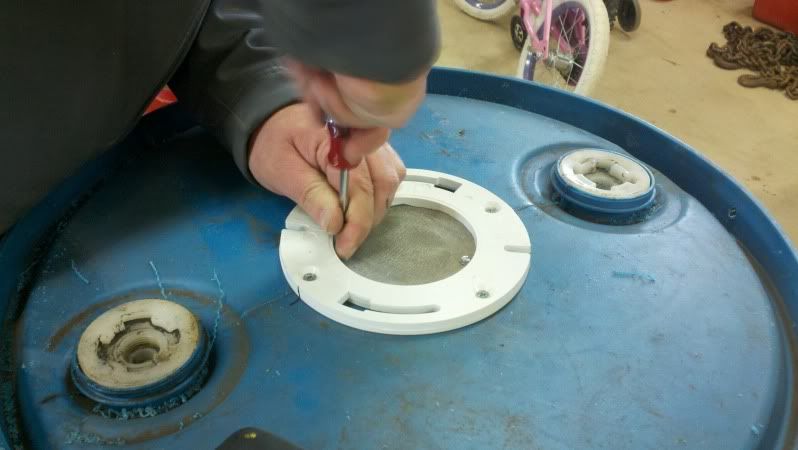
Attaching the toilet closet flange that will become the air vent and
adding a piece of screen to keep out critters.
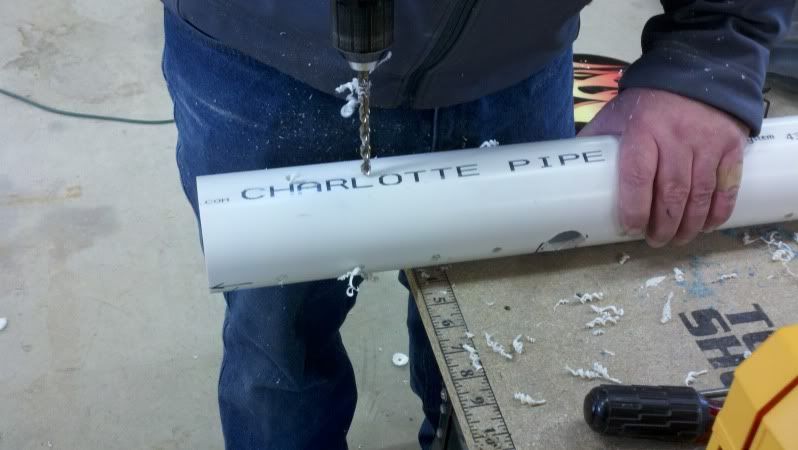
Cutting the holes in the 3" PVC pipe, this will let the air flow inside the
tumbler keeping everything well aerated.
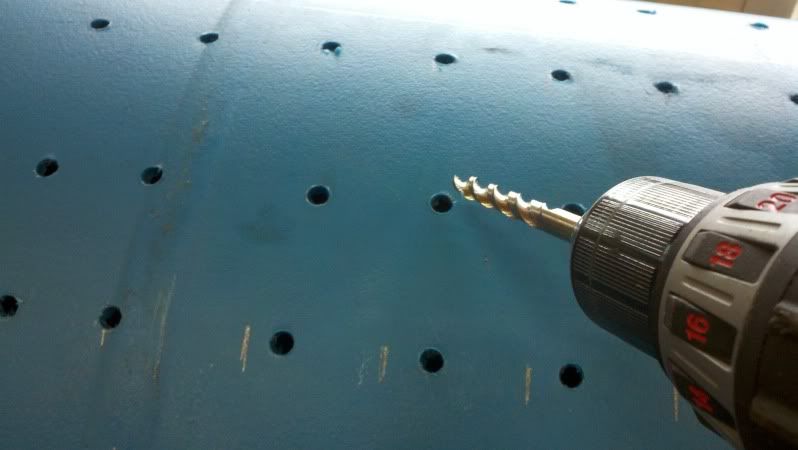
Time to cut lots of air holes around the barrel.
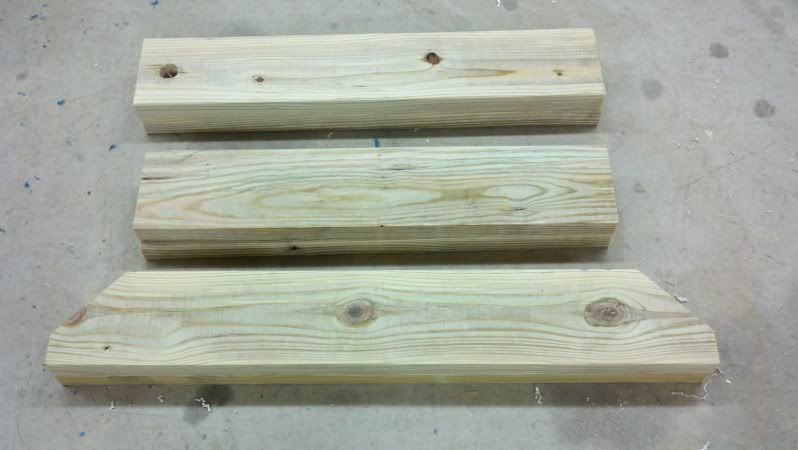
Wood all cut for the base.
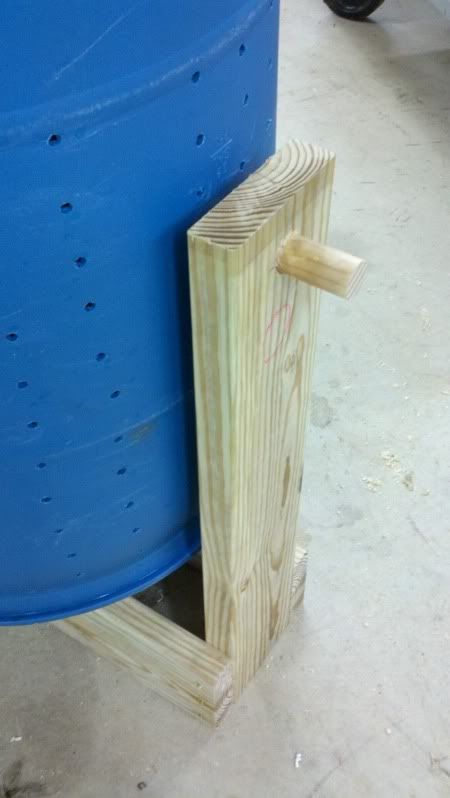
Assembling the tumbler, the closet rod going through the barrel and the PVC pipe inside.
Attaching the uprights and the base.
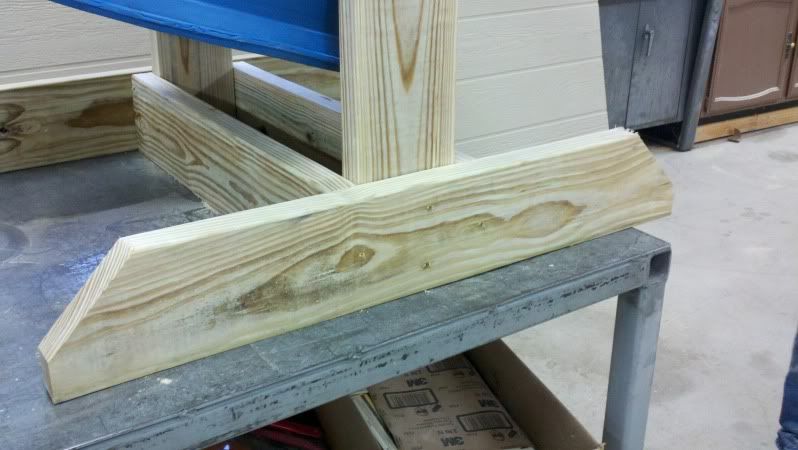
Adding the legs to the base.
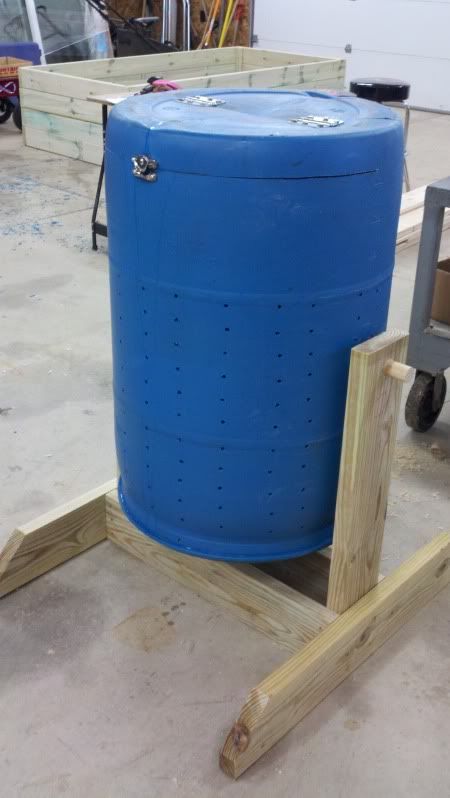
Finished Tumbler!
Now I need to put it to use! I'll let you all know how it works.
Be sure to go to the Tutorial for all the details on assembling the tumbler.
4/28/12
Building more raised garden beds
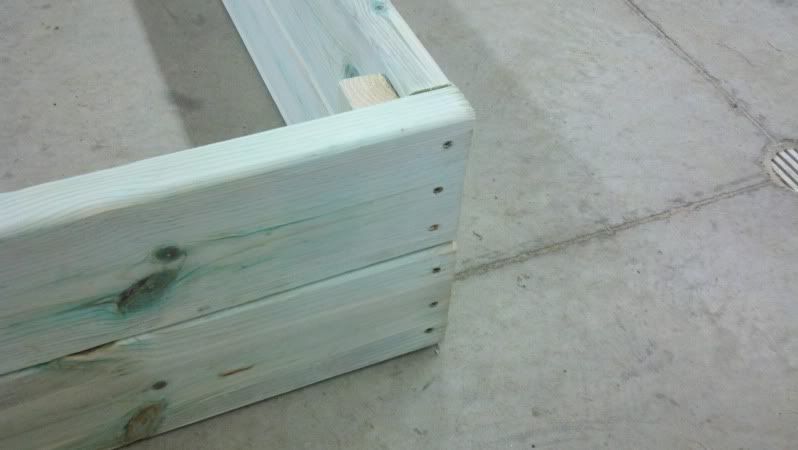
Today was a bit too cold and windy to work outside on the chicken coop. Instead we set up in the shop to work on building two more raised beds. They will be in addition to the 4' x 16' raised bed we put in back in 2009. This time we used green treated (arsenic free brand) 2 x 6 x 8's. Dale cut everything to length and used screws to assemble them into 4' x 8' boxes, two rows high so they will be 12" deep. Then we ripped a 2 x 4 in half on the table saw to use as extra bracing in the corners.
Now we need to put landscape fabric over the bottoms and put them in place. We will use a mixture of peat moss, vermiculite and compost to fill them up with. Our compost pile from last year looks pretty good but we will need quite a bit of it. Our neighbor gave us a load of cow manure to, but it's too fresh to use right away. Once that's had some time to age it will be a great addition!
Our next project will help us make more great compost and make it faster too! I will post about that as soon as it's finished.
4/27/12
Concrete work this week
The concrete guys called and said that they would be out to work on our job this week!
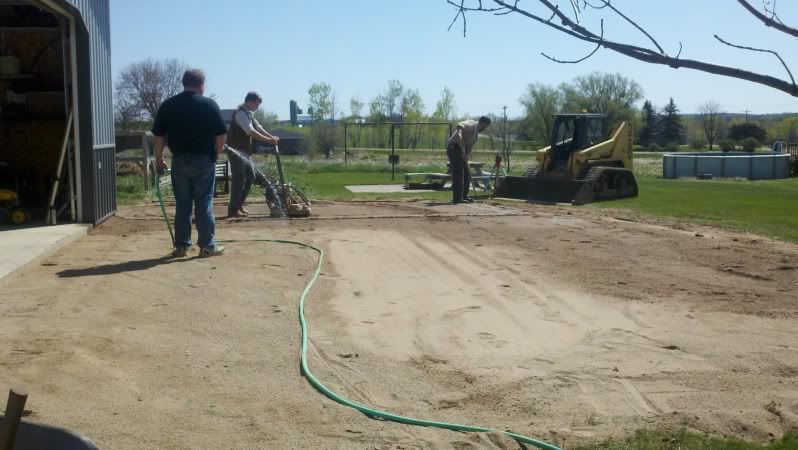
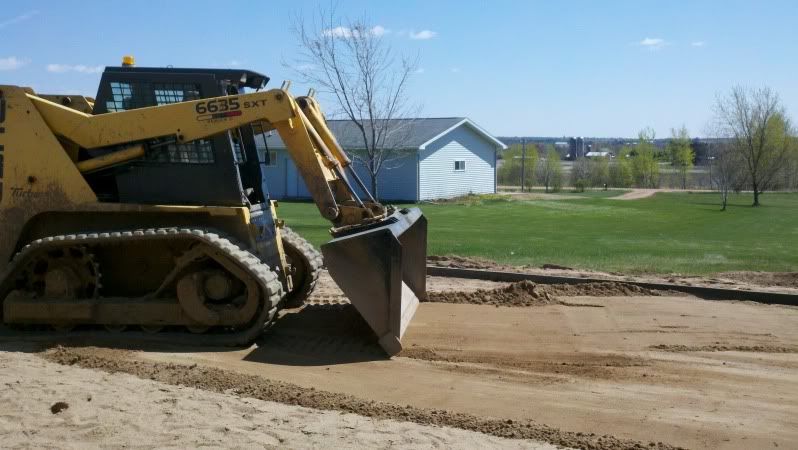
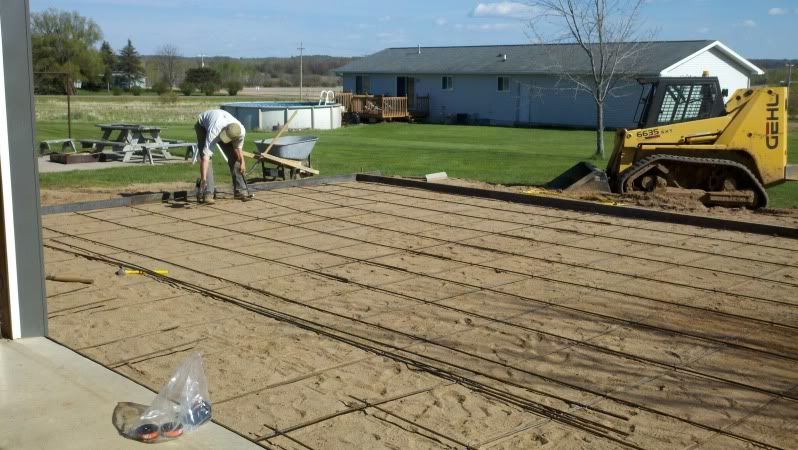
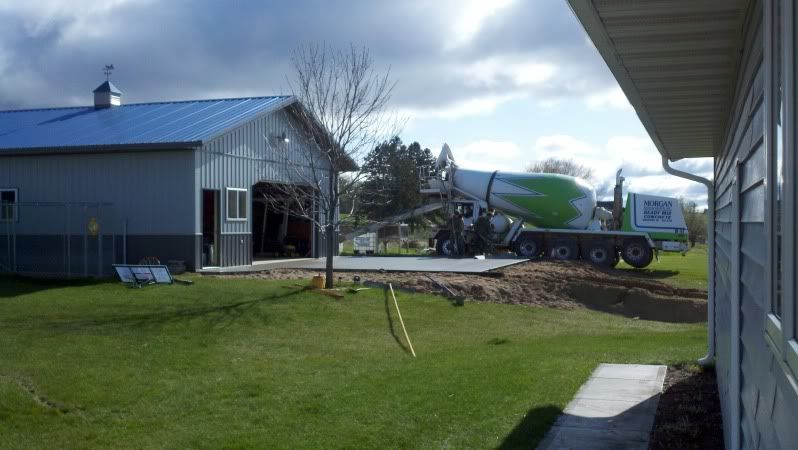
It was a fun process to watch as they compacted the sand then leveled everything off.
The forms went up and then the re-bar went in. Very efficient workers!
The came back the next day to pour the concrete. It's nice living only a couple miles from the concrete supplier too! Very fast service!!
Last night we had a hard freeze here so they covered it with tarps and now today they took off the forms and sprayed on the sealer. The kids can't wait to ride their bikes on it and to play basketball once we put up the hoop!
4/26/12
Weekend progress
Last weekend we had perfect weather! Which means we were outside working on the chicken coop.
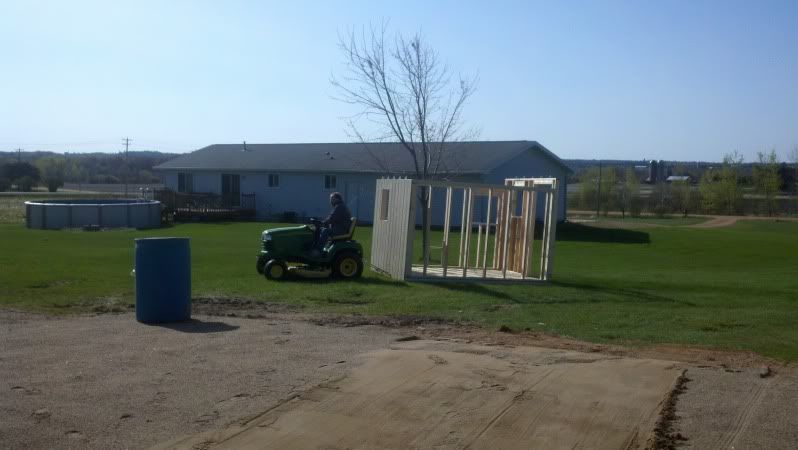
It started out with moving the chicken coop out of the pole building so the roof work could start.
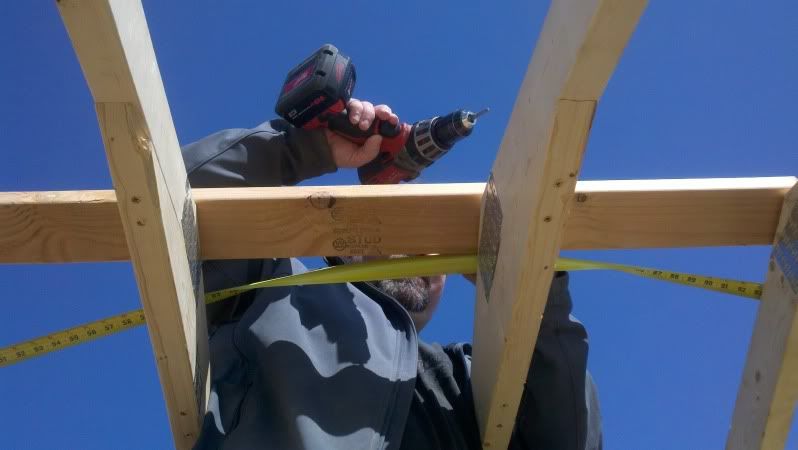
Then next step was putting up the rafters.
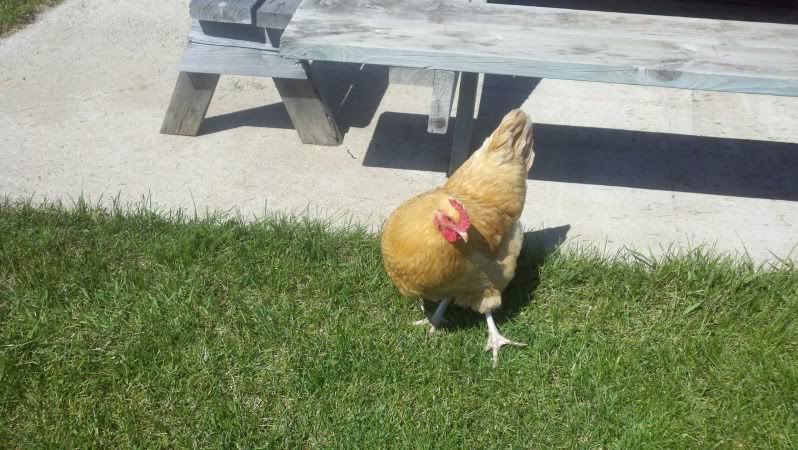
Of course Buffy had to come around to check out the progress too!
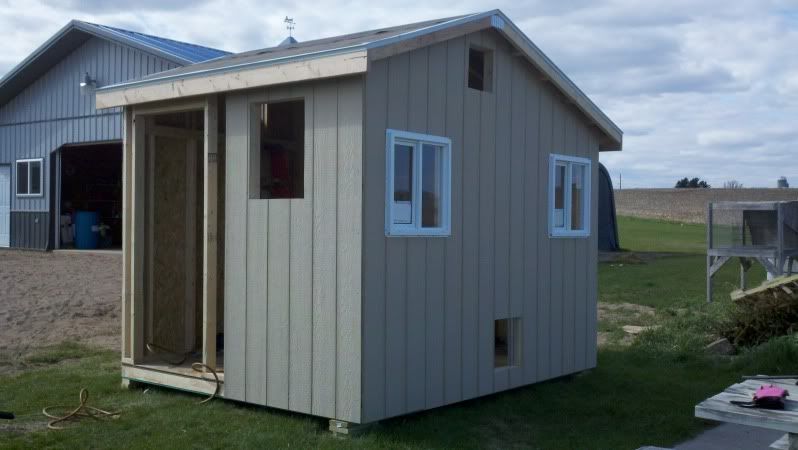
You can see the two windows on the east side and the chicken pop door. The cutout in the peak will have a vent in it. Eventually it will all be painted to match the pole building and the other chicken coop too. That will be my big job.
This week the concrete guys have been out and finished getting ready to pour the slab in front of the shop and along the east side where the coop will eventually sit.If the weather holds out they should be here to pour today!! The weekend will have us working on shingles and hopefully more interior work. We will need to wire everything then insulate before putting up the interior walls.
I hope to have a feeder built into the wall for this coop. An idea I got from the forums on Backyardchickens. It will be nice to not have the feeder hanging in the middle of the coop taking up floor space and I will be able to fill it from the storage side of the coop and not have to go into the chicken's side!
The latest word on my order for chicks is three more weeks. I'm waiting for some Swedish Flower Hens! They are still pretty rare and hard to get. The people I'm getting them from only had 4 hens and are hatching all the eggs they get but still can't keep up with the orders. All the Swedish Flower Hens in the US have come from Green Fire Farms. They were first imported to the US in June, 2010. They are a very colorful breed that's extremely winter hardy! I can't wait to get them!!!
It started out with moving the chicken coop out of the pole building so the roof work could start.
Then next step was putting up the rafters.

Of course Buffy had to come around to check out the progress too!
I think she approved!
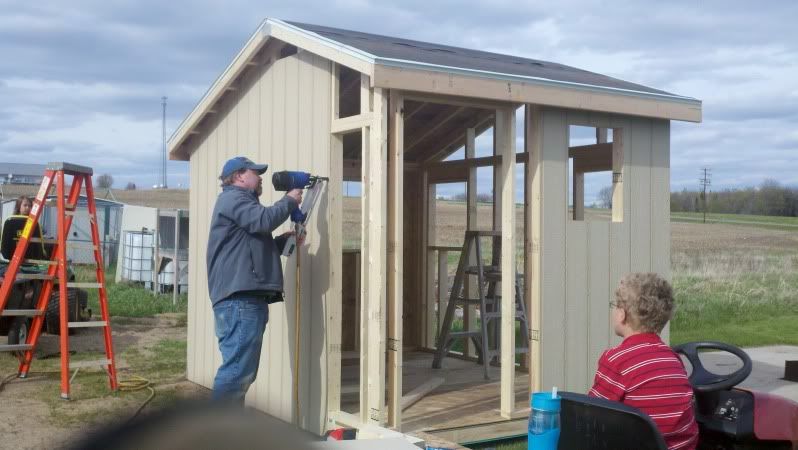
After the rafters were up then the OSB, tar paper and drip edge went on. The rest of the siding was next. It's really looking nice now!
On Sunday the windows went in along with some blocking work on the interior.
This week the concrete guys have been out and finished getting ready to pour the slab in front of the shop and along the east side where the coop will eventually sit.If the weather holds out they should be here to pour today!! The weekend will have us working on shingles and hopefully more interior work. We will need to wire everything then insulate before putting up the interior walls.
I hope to have a feeder built into the wall for this coop. An idea I got from the forums on Backyardchickens. It will be nice to not have the feeder hanging in the middle of the coop taking up floor space and I will be able to fill it from the storage side of the coop and not have to go into the chicken's side!
The latest word on my order for chicks is three more weeks. I'm waiting for some Swedish Flower Hens! They are still pretty rare and hard to get. The people I'm getting them from only had 4 hens and are hatching all the eggs they get but still can't keep up with the orders. All the Swedish Flower Hens in the US have come from Green Fire Farms. They were first imported to the US in June, 2010. They are a very colorful breed that's extremely winter hardy! I can't wait to get them!!!
4/23/12
Another sign of spring!
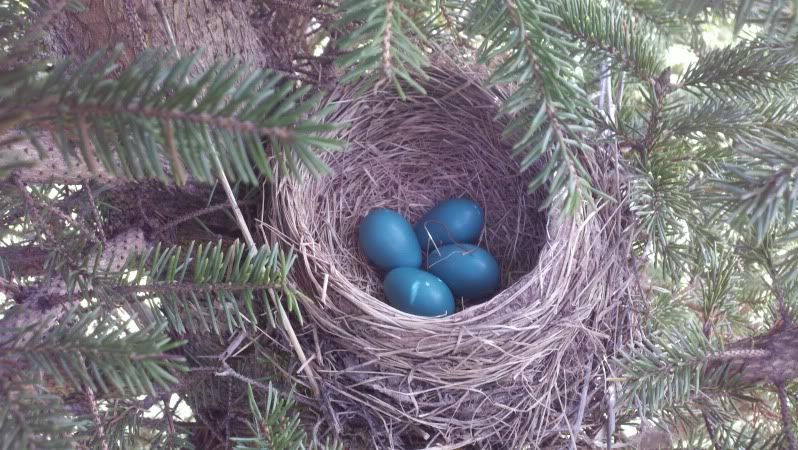
When I was outside planting some onions and spinach yesterday I spotted this in one of our pine trees.
We have quite a few robins so I'm sure this isn't the only nest around!
We have quite a few robins so I'm sure this isn't the only nest around!
Broody hen
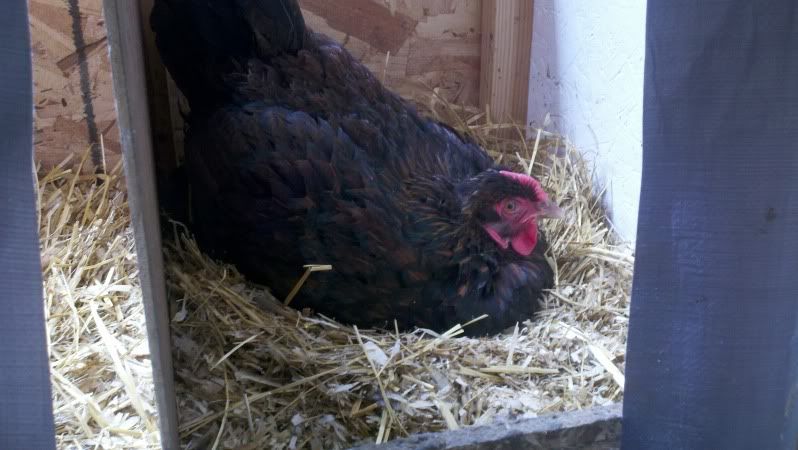
I have a wannabe broody hen.
This golden laced Wyandotte has taken up residence in the favorite nest box. She's all puffed up and actually growls when you try to move her. She isn't even sitting on any eggs! If we had a full sized rooster I'd let her sit and hatch out some chicks, but our rooster is a Silkie! I don't really want any Silkie/heavy breed cross chicks.
I keep evicting her from the nest box hoping she will just give up. We will see!
4/15/12
Mini hoop house is up!
The mini-hoop house is set up on the square foot garden. We have peas and arugula already sprouting and the asparagus is poking up too. Some severe weather is possible tonight so I'm hoping the plastic holds on and I don't find it out in the field next to us in the morning!
Up, Up with a new Coop!!
We are building a new chicken coop!
You know chickens are like potato chips... you can't have just one! Or two or twelve! ha ha
If I wanted to add a few more fluffy butts around here there needed to be another chicken condo. Our current set up is maxed out. The 8 x 8 barn style garden shed that was re-purposed into our coop is serving us well but the 11 large breed hens and our one Silkie bantam rooster pretty much fill it up.
The new coop will be an 8 x 10 salt-box style with a 10 x 10 fenced in run. This coop with have two operating windows and two stationary ones so there will be lots of natural light. In addition there will be two 12" x 12" vents in the roof peaks on the east and west sides giving us plenty of ventilation. We will have an automatic pop door for the chickens in this coop like we have in our current one. That makes having chickens so much easier! Dale started building it a couple weeks ago inside our pole building.
You know chickens are like potato chips... you can't have just one! Or two or twelve! ha ha
If I wanted to add a few more fluffy butts around here there needed to be another chicken condo. Our current set up is maxed out. The 8 x 8 barn style garden shed that was re-purposed into our coop is serving us well but the 11 large breed hens and our one Silkie bantam rooster pretty much fill it up.
 |
| He's a handsome boy isn't he? |
The new coop will be an 8 x 10 salt-box style with a 10 x 10 fenced in run. This coop with have two operating windows and two stationary ones so there will be lots of natural light. In addition there will be two 12" x 12" vents in the roof peaks on the east and west sides giving us plenty of ventilation. We will have an automatic pop door for the chickens in this coop like we have in our current one. That makes having chickens so much easier! Dale started building it a couple weeks ago inside our pole building.
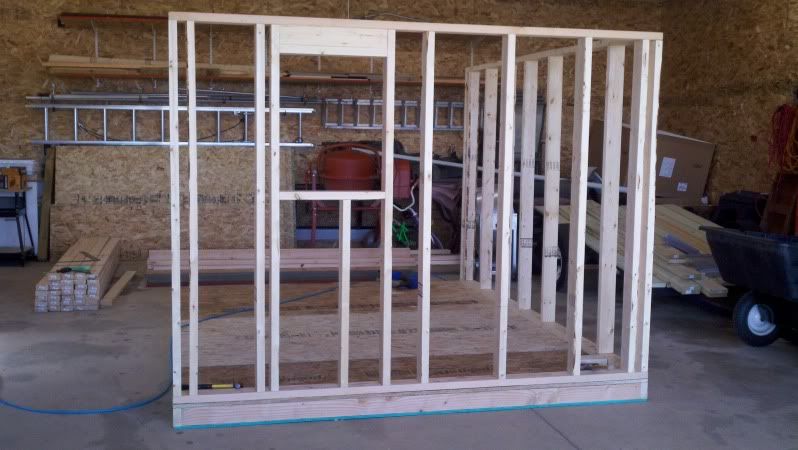
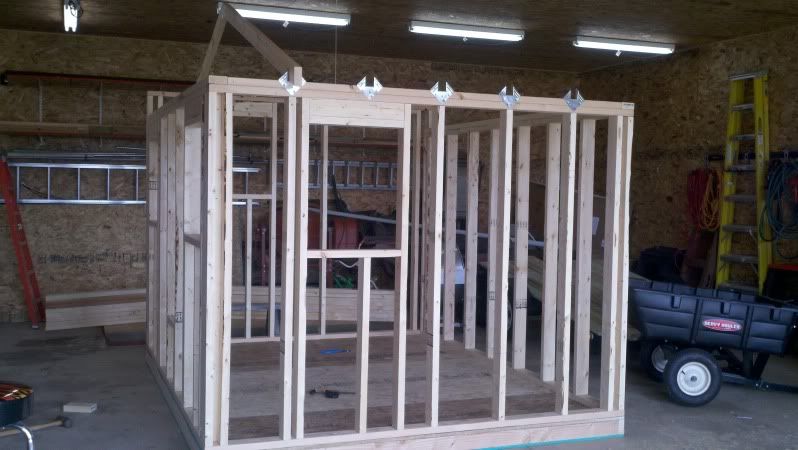
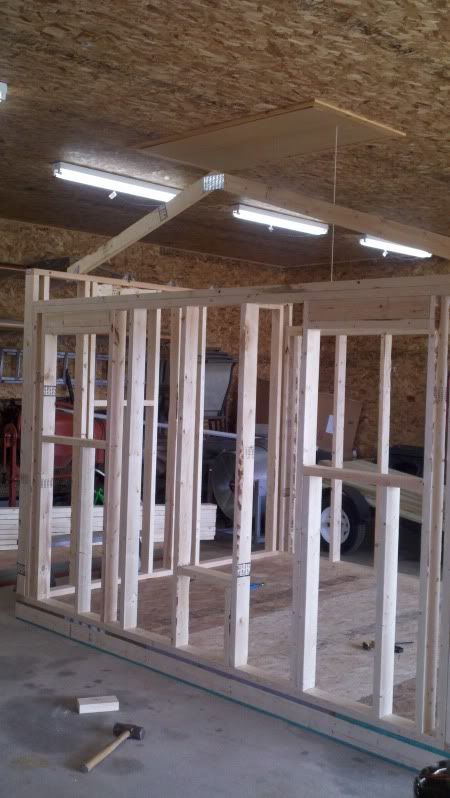
Here's a few pictures of the progress.
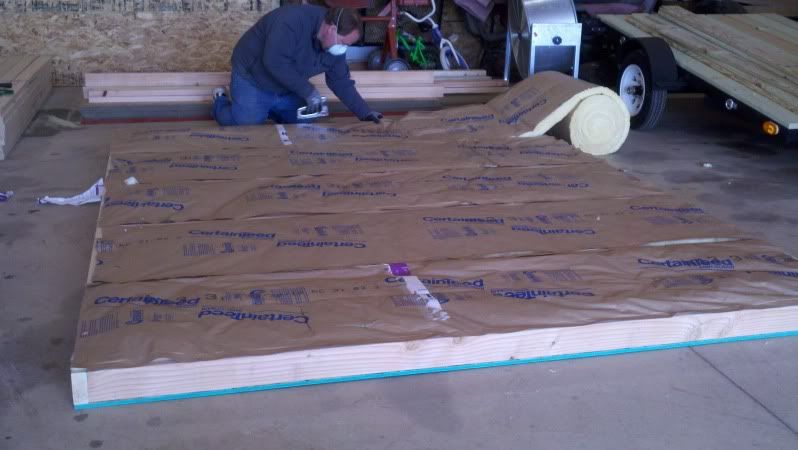
Insulating the base.
Two side walls framed up, looking at the north wall here with one window.
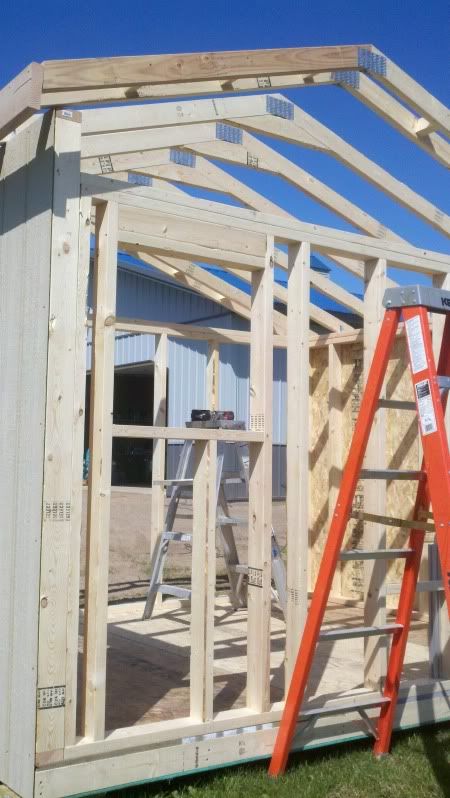
Four walls framed out and the rafters ready to go up.
Looking at what will be the east facing wall with two windows and the chicken pop door.
Not much more can be done now until we pull it outside with the tractor, the rafters won't fit out the door on the pole building. We are having concrete poured and once that is done the coop will be moved into place and the rest of the work can start.
Here's is a look at our current coop with the 5 x 15 run.
4/9/12
Where oh where has this little blog gone?
I totally de-railed at writing this blog. Bad bad blogger!! lol I'll try to do better! I promise!!
I may go back and add some photos and information from last years gardening experience if I have time. One thing I will say, we learned that the large garden in front of the house was not a good idea. Some things grew well others did not. The two main troubles were keeping up with the weeds and the poor soil conditions. Tomatoes and beans did well; peas, cabbage and cauliflower did not. Sweet corn did ok, but not great, as did the cucumbers, pumpkins and peppers. The carrots and onions suffered greatly from weeds.
The square foot garden did very well once again! This will be our 4th year planting it and every year it surprises me how much it allows me to grow in such a small area. It took a fraction of the work, weeding and watering as did the traditional row style of garden we added last summer. We enjoyed some new for us veggies that we haven't tried growing before. Beets, kale and bok choy all did very well! Kohlrabi and diakon radish performed well too.
With the warm spring we've been enjoying, I went out and planted some cool weather crops already. Nothing is coming up yet but the seeds don't mind waiting for their preferred temps before sprouting. We have asparagus poking up now too! This week I will put the plastic up on the mini-hoop house we built last year and start raising the soil temps in there. That will surely get things going!
I also plan on starting some seeds yet. It's quite a bit later than I started last year, but here in our zone 4 area our average date of last frost is May 26th. That gives me plenty of time to get a few things started under lights in the basement.
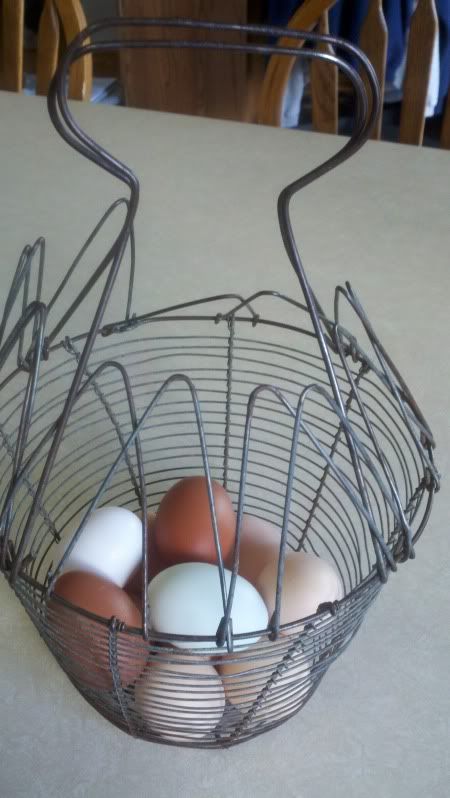
I will give you an update on the animals here later. For now take a look at the basket of eggs the hens gave me for Easter!
12/15/11
A possible case of Barnheart
It's pretty unusual to have a morning with no housework or chores to get to right away. But today one was offered me and I took advantage of it. Once everyone else was fed and sent on their way for the day I brewed up a cup of coffee, snuggled into my favorite chair, wrapped up with a cozy blanket and went to reading a new book. The story seemed a bit familiar to me. It told of longing and desire, of the thoughts one has to change things around themselves. It's something I'm mentioned here before actually. The urge or need to get back to basics. Grow your own food. Plant and raise what will sustain your family. I'm only half way through Jenna Woginrich's latest book, Barnheart.
Being one of her blog readers for about 2 years now, I enjoy reading the back story on her move to Vermont and the early time spent as a renter and wannabe landowner. It's a love story really. The love of a different way of living. Falling for the hard work and rewards it has to offer. Learning from the mistakes and making better choices along the way. I'm anxious to get back and finish the story but right now the chickens are calling for their morning treat of oats and sunflower seeds. I've already enjoyed their gifts of deliciousness, fried up for breakfast along with some homemade bread toasted up and buttered.
6/21/11
First day of summer... time to catch up!!
Well, not much for a regular blogger here lately! Lots of things to catch you up on though.
First, the chicks we hatched here at home are doing great! Looking more and more like adult chickens all the time. We gave 6 of them to a friend and kept 5 four ourselves. In return we got a red silkie! Oh she is a beauty!! I'll have to post a picture of her soon, she has blue earlobes!
Our Muscovy pair are still waiting on their eggs to hatch. This will be the hen's first clutch, so we are hoping she's a good momma. We've have some predator issues and reinforced their pen as much as we can. Now to just hope for the best!
Our 7 one year old hens are laying 6 eggs a day now. Still waiting on the two new partridge Penedesenca pullets to start laying. They were supposed to have hatched in January, so I think they should be laying any day now. They are not friendly chickens at all, but I can't wait to see their dark chocolate brown eggs!
The other nine pullets we bought are doing really well. They took over the coop the broilers were in. Now this group is very friendly and calm. The Buff Orpingtons like to be picked up and held along with the new Silkie. We have such a great variety in this bunch! Lots of different colors to see.
The broiler chicks were taken into the butcher at 8 weeks old. They grow so fast!! Now we have a freezer full of delicious home grown chicken! I tried a new recipe for roasting them and it's my new go to for delicious moist chicken! Low and slow is the way to go with these.
Now on to the garden update!!
Dale and the rest of us put a lot of work into getting the new large garden bed ready for planting. It was just a field of grass earlier this spring. Take a look at some of the progress we made.
Here another shot of our mini hoop house too. I removed the plastic at the beginning of June once our night temps were warmer.
My trays of transplants that I started from seed were all ready to be planted out after hardening off in the hoop house. They are all doing well in the garden now.
I harvested all of the diakon radishes today, the larger ones were beginning to bolt so it was time. The chickens feasted on the tops and I cleaned up the roots for us. Now I'm not a big radish fan, but I had read that these large radishes, when roasted, taste a lot like parsnips. Parsnips I like! So I pulled a few last weekend and roasted them along with some carrots and our chicken. Delish! I'll be planting a fall crop of them! We've also lunched on BLT's with the L-lettuce coming straight from the garden. So good and fresh. There wasn't much asparagus to harvest yet this year, but it's coming along. We also ate beet greens one night with supper after I thinned the bed. The kids surprised me and really liked them!
I need to get out and take some updated pictures of the gardens and chickens soon! But it's raining today so that will have to wait. I'm glad to have the needed rain, but now we need some warmer temperatures too!
How does your garden grow??
Subscribe to:
Posts (Atom)
Popular Posts
-
It's finished!! I wanted to extend our growing season in our 14' x 4' Square Foot Garden (SFG) this year. I had seen this met...
-
Up until this week June had been a very dry month here in Marathon County. In the last few days we've been blessed with a few inches of ...
-
If you enjoy gardening then you know all about the benefits of using compost. Black gold it is often called. It adds needed nutrients and he...

